
How to Create Your First Sniply Link
December 31, 2019Welcome to the Sniply link shortener!
This is a step-by-step guide, filled with screenshots, that will take you through the process of creating your first Sniply link.
When we’re done creating your Sniply link, you should end up with something like this http://snip.ly/demo1 where you’ll see your call-to-action on a page of your choosing.
The whole process of creating a Sniply link should take no more than 60 seconds!
STEP 1: CREATE A BRAND
(skip this step if you’ve already set up a brand in your Sniply account)
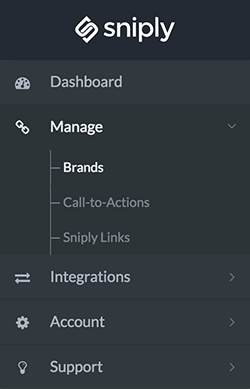
Go to the Manage > Brands section in your Sniply Dashboard
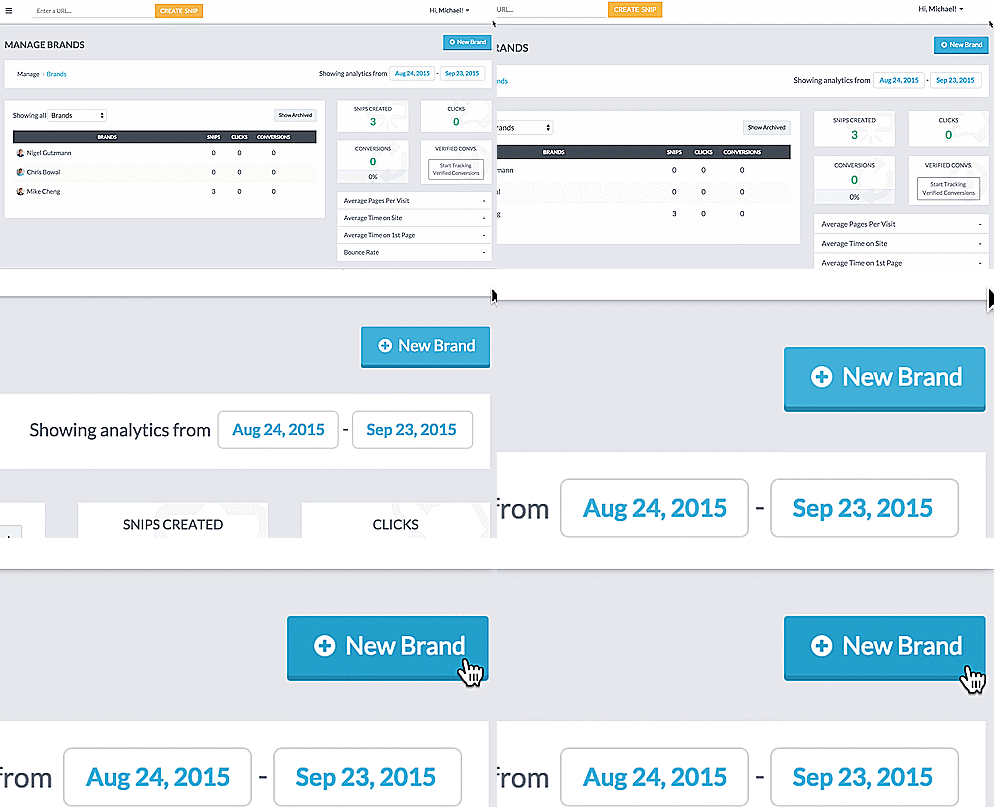
Click on the New Brand button in the top right corner
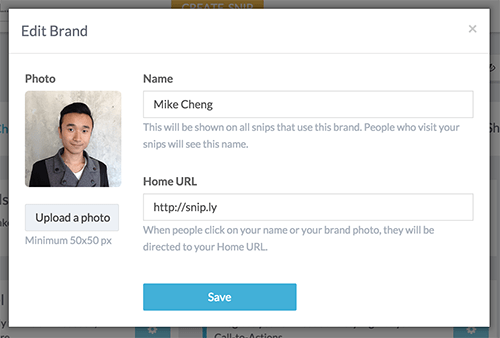
Upload a photo, input your brand name, and a link to your home page
STEP 2: SETUP A CALL-TO-ACTION
(skip this step if you’ve already set up a CTA in your Sniply account)
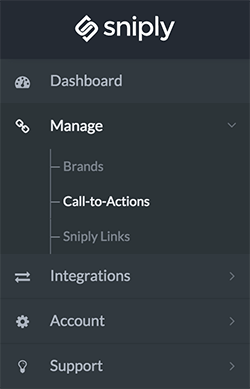
Go to the Manage > Call-to-Action section in your Sniply Dashboard
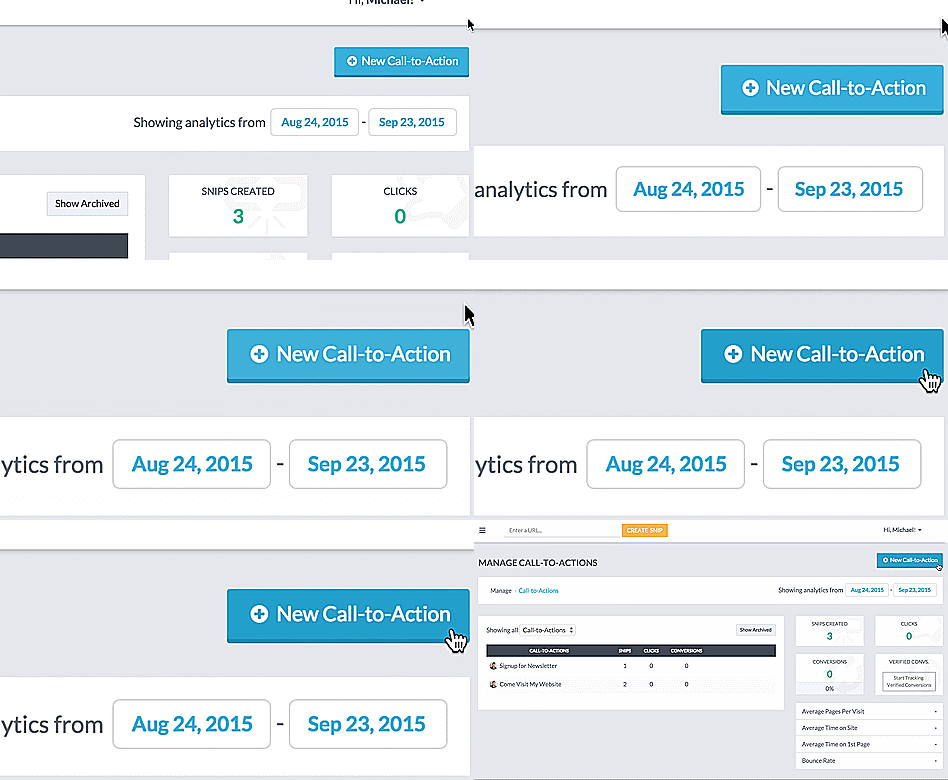
Click on the Add New Call-to-Action in the right top corner
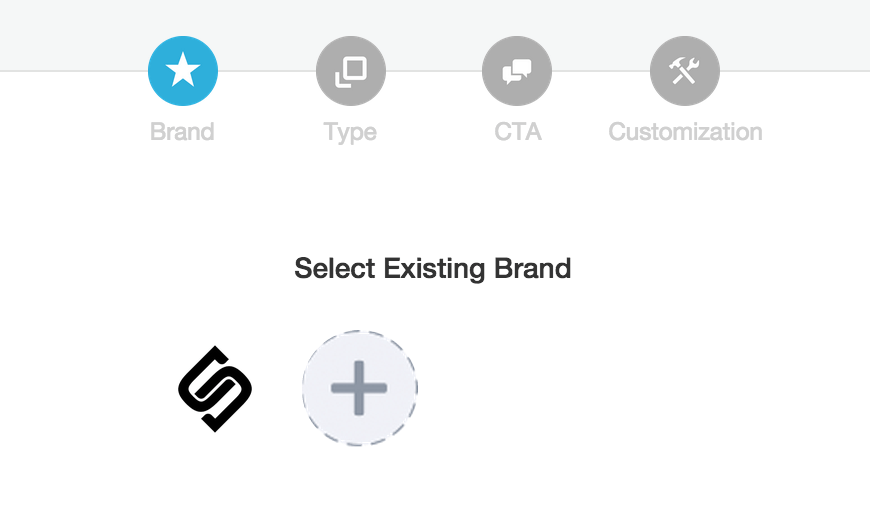
Select an existing brand or Create a New Brand
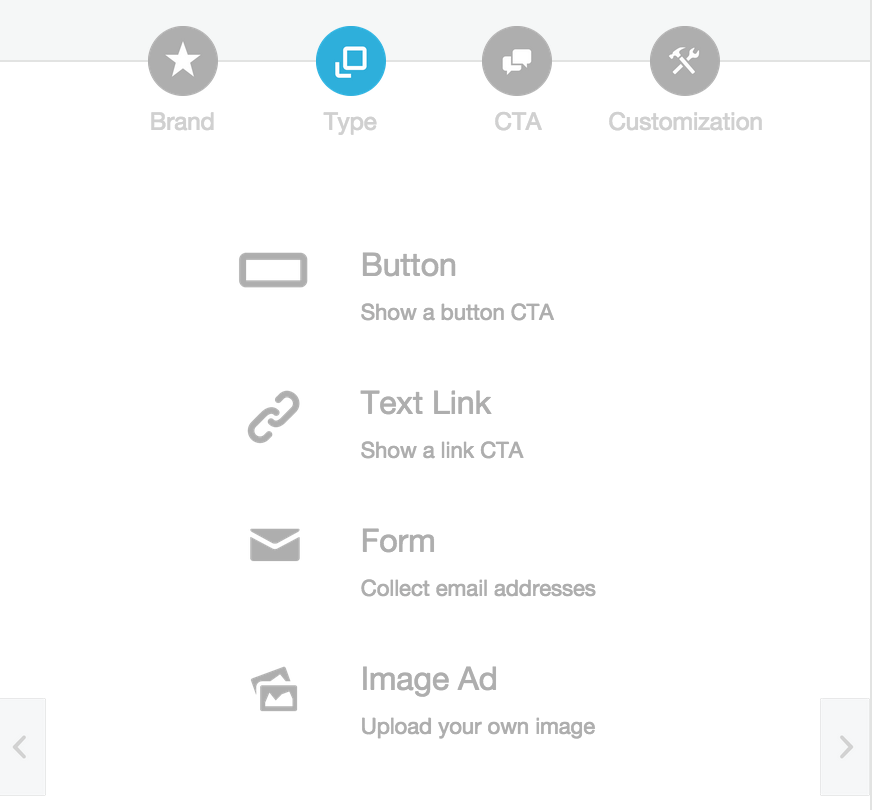
Choose a Call-to-Action type (Check out the types of CTAs you can use in your Sniply links)
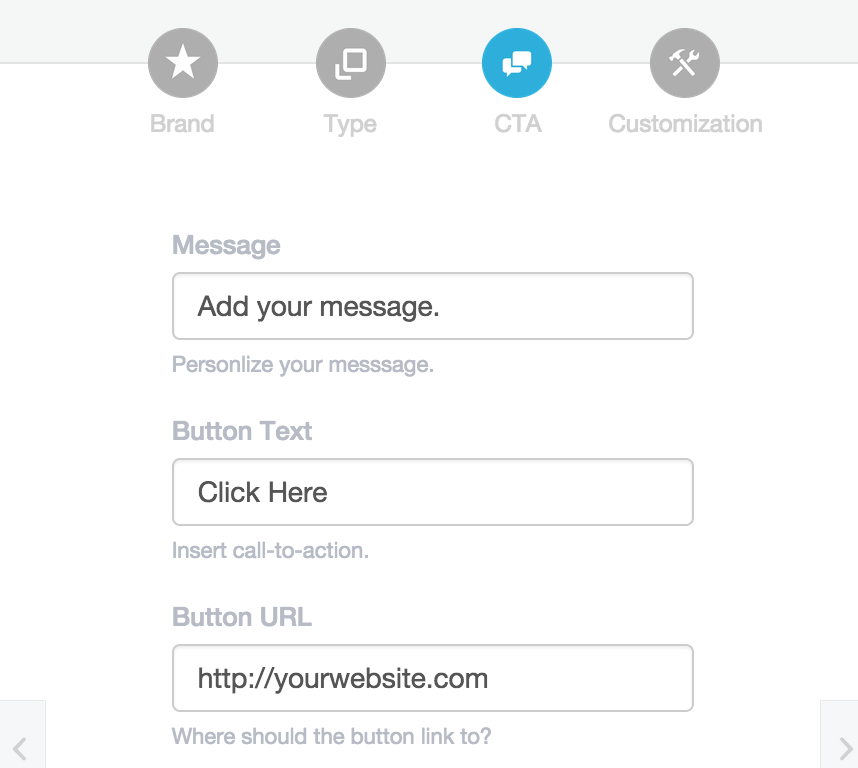
Input a message and call-to-action link
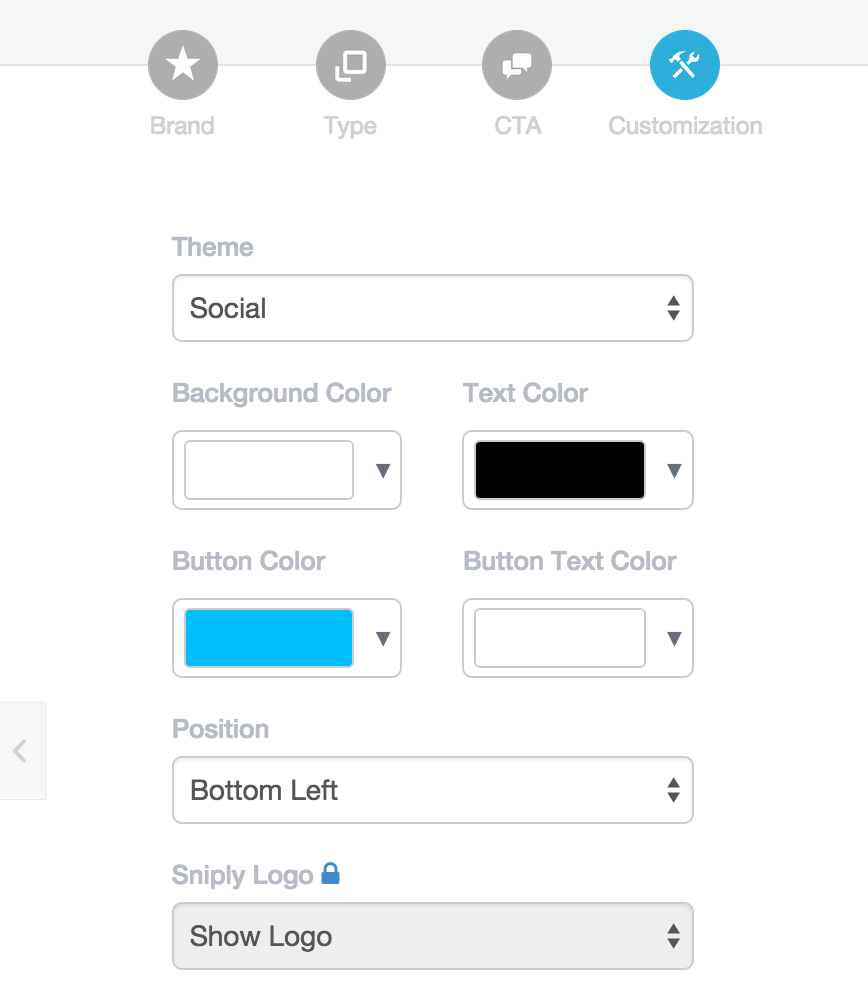
Customize your snip to match your branding
STEP 3: START SNIPPING LINKS
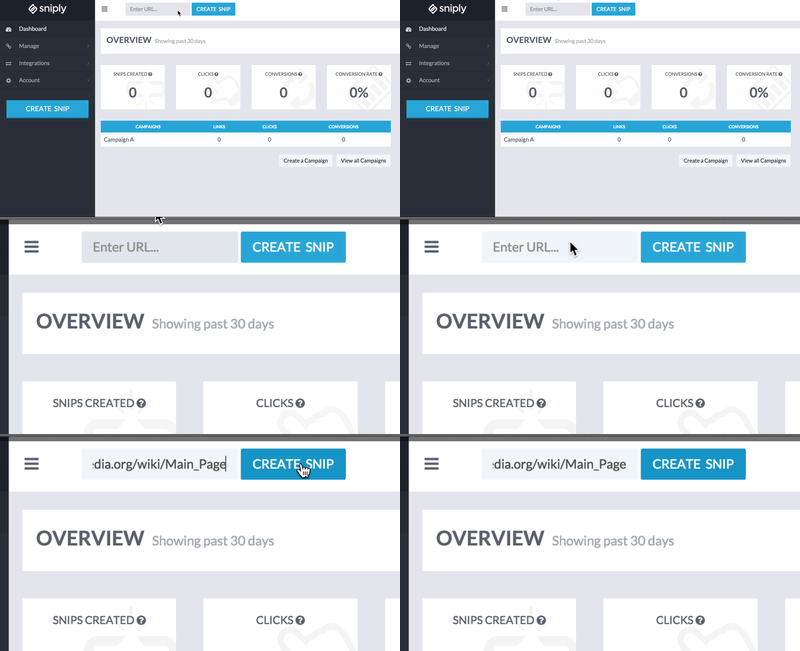
Paste in the link that you want to share and click the “Create Snip” button
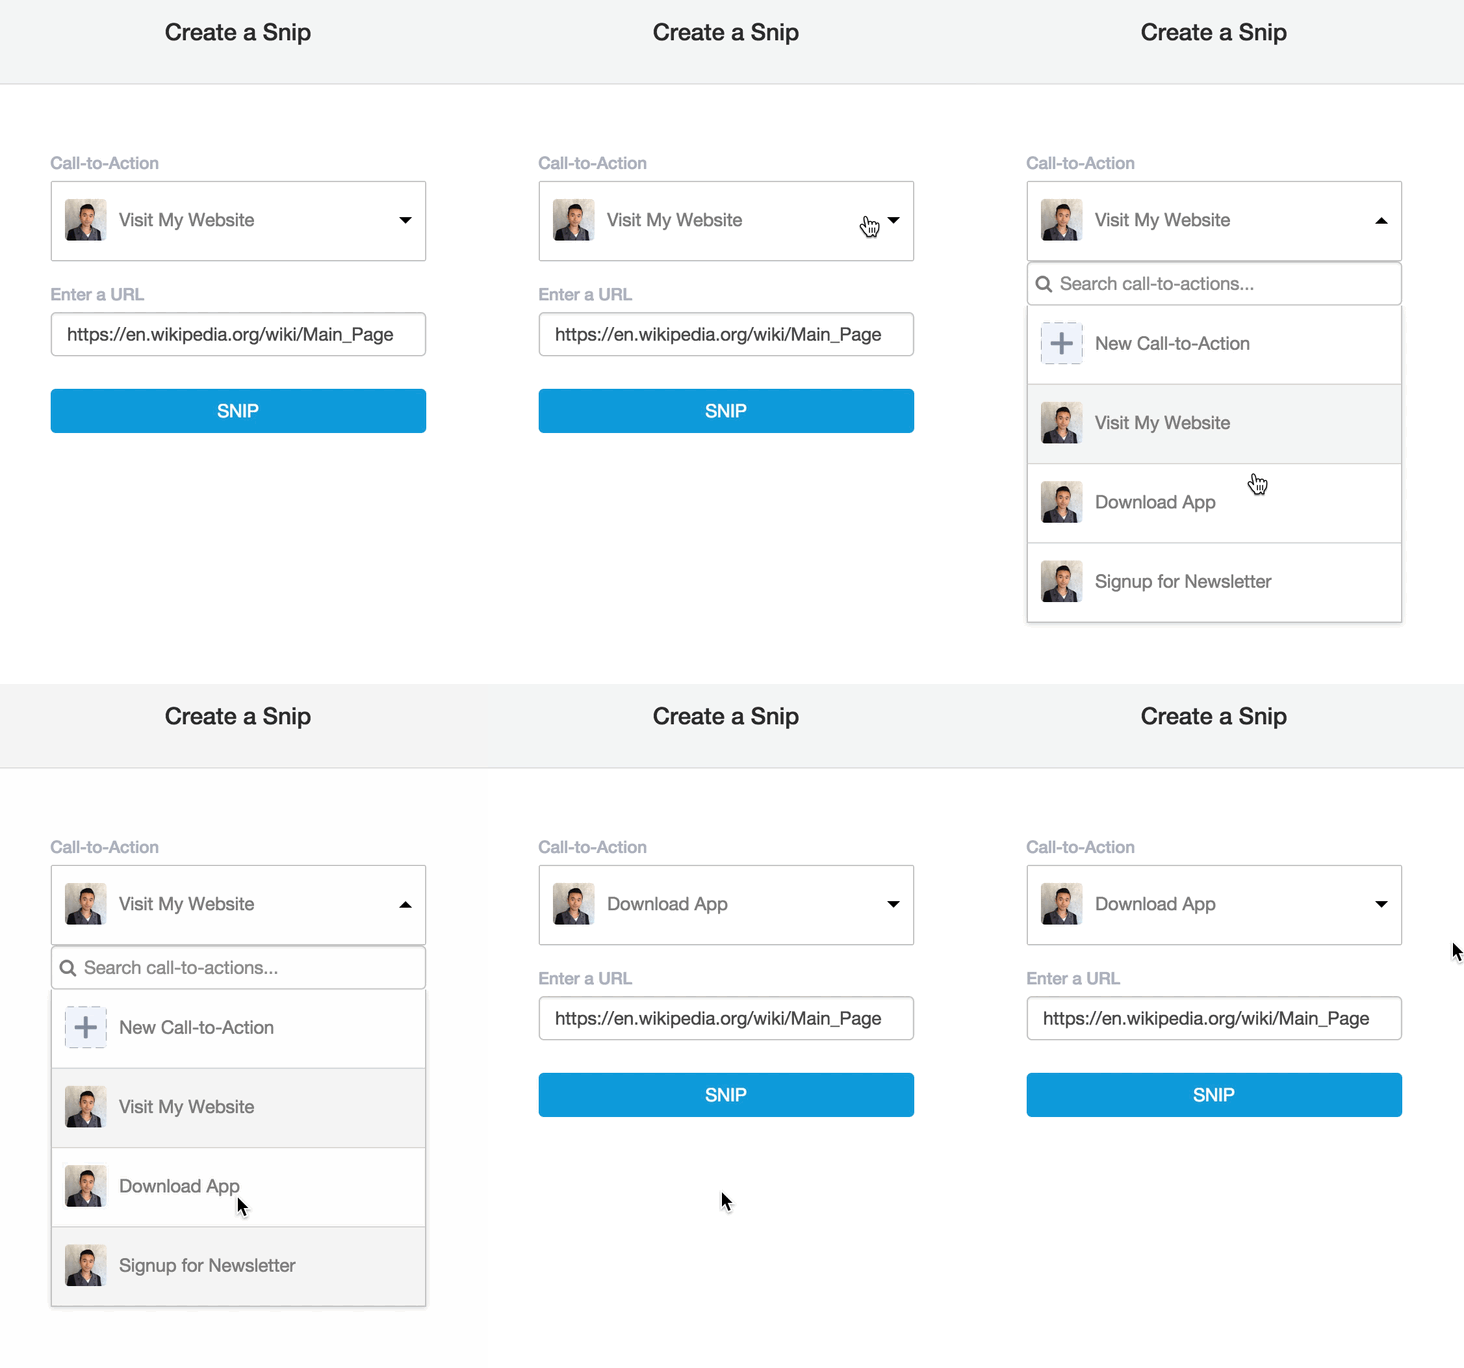
Choose a Call-to-Action or create a New Call-to-Action
Share the Sniply link with your network!
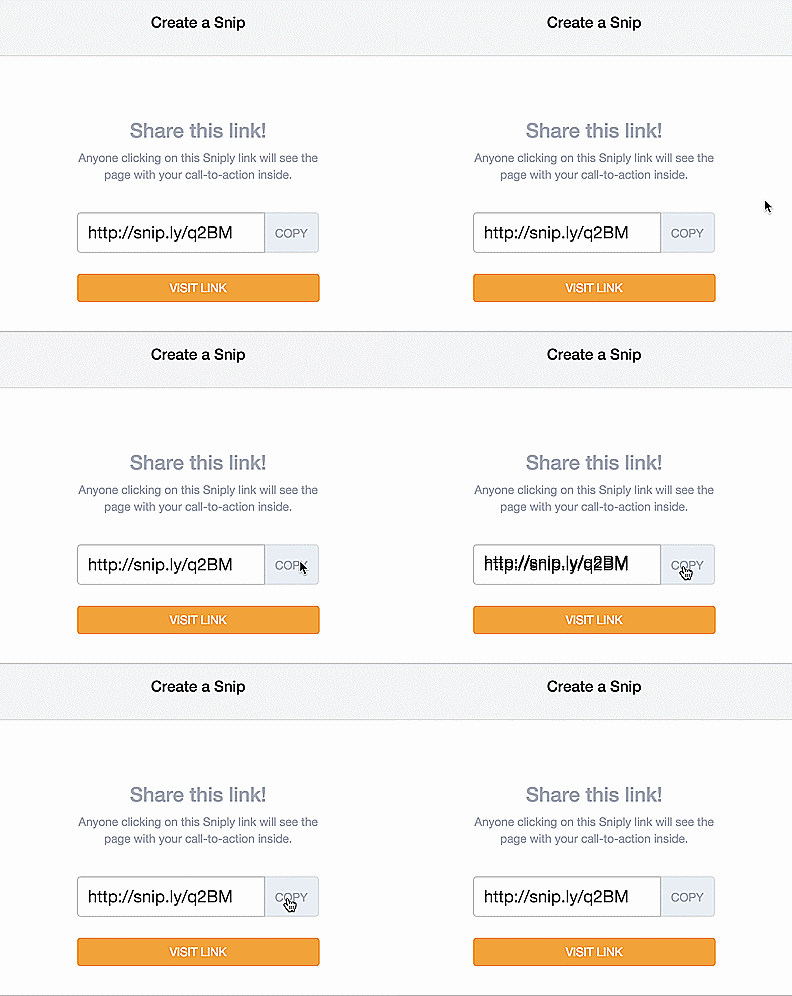
Sniply generates shortened Sniply links that should look something like “snip.ly/abcd”. Once you create a Sniply link you can share them anywhere you’d like, just like any other links you share. Anyone who clicks on your Sniply link will see the page along with your message inside.
You can share Sniply links on business or personal Facebook pages, Twitter, Pinterest, email newsletters, or even text messages!


