
Online Marketing with HubSpot
Generate Even More Conversions With Hubspot and Sniply
What is HubSpot?
HubSpot is a one-stop-shop for all your online marketing needs. With HubSpot, you can create blogs and landing pages, build and manage a growing list of contacts and leads, improve your website, maximize the effectiveness of your social media campaigns, and improve your content and inbound marketing efforts. The Sniply integration into HubSpot allows you to export Sniply form submissions into HubSpot as new contacts and create Snips from within the HubSpot dashboard so that you can share Sniply links rather than plain-old, boring links.
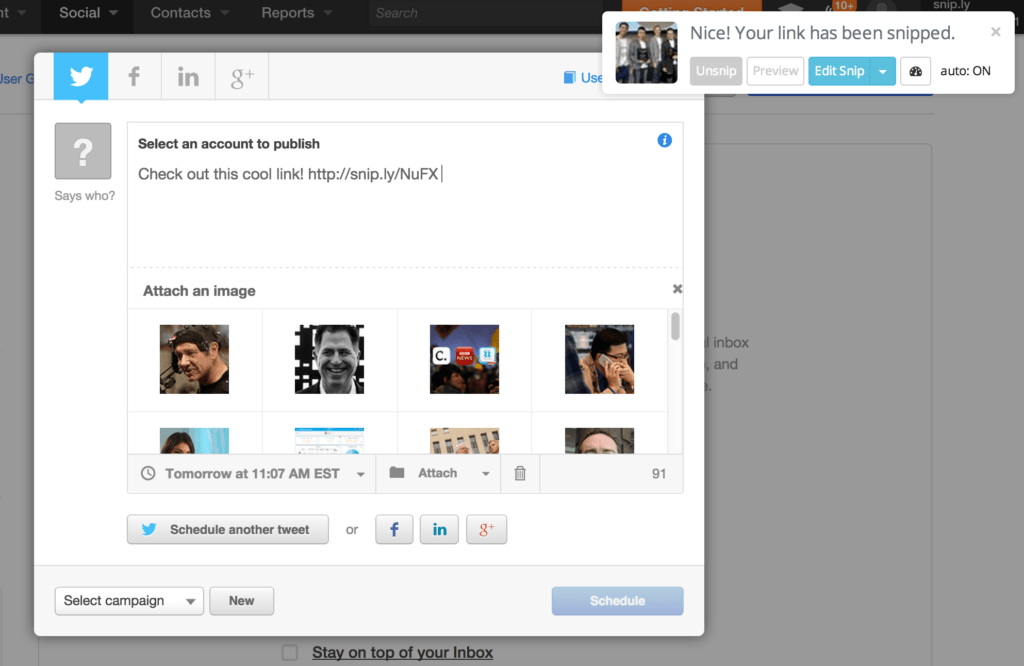
Integrate Using Our Chrome Extension
Sniply has browser extensions that allow you to Snip links right from the HubSpot dashboard. Once you’ve installed one of the extensions, you’ll see Sniply embedded directly into the sharing experience, ready when you are. If you want, you can activate the optional AutoSnip feature (off by default). AutoSnip will automatically Snip any links you share onto social media using HubSpot’s message publishing feature. This means that you can add Sniply messages to all your HubSpot social media messages without having to come back to our website every single time! Whenever you paste a link into the HubSpot message creator, Sniply will automatically Snip the link.
Using Zapier to Connect Accounts
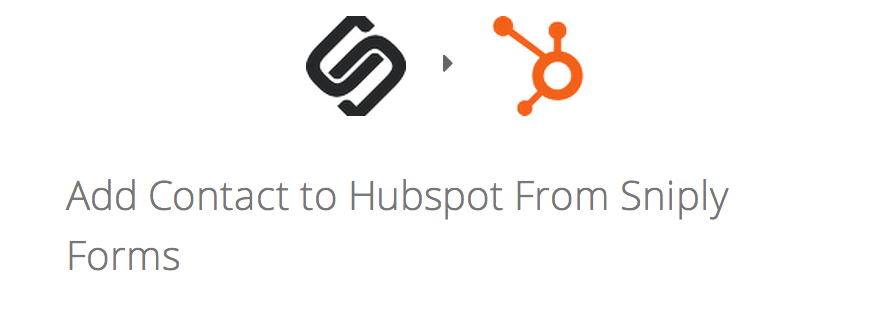
Sniply allows you to send your form submissions to HubSpot through an app called Zapier. You connect your Sniply and HubSpot accounts to Zapier, then Sniply will send your form submissions to Zapier and Zapier will forward them to be stored on HubSpot as a new contact. You can customize which submissions go to which contact lists and more on Zapier.
Customizing Your Zapier Integration
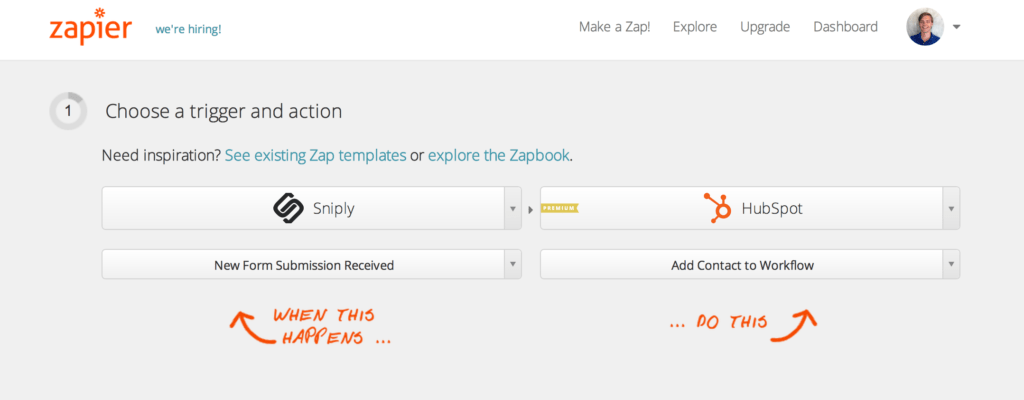
If you would like to customize how your Sniply form submissions get sent to HubSpot, you can use Zapier to set up your own custom integration (Zap). From your Zapier dashboard, click “Make a Zap”. In the trigger app, choose “New Form Submission Received” from Sniply. Choose HubSpot as your Action app, and select the action that you would like HubSpot to take when you receive a new Sniply Form Submission. In the next step, you will need to connect both accounts to Zapier.
After that, you can filter which form submissions you would like the Zap to work for (for example, only take action if the Form Submission is from one of your Sniply Brands). Finally, you can enter how you would like the data to be imported into HubSpot. Depending on which action you would like HubSpot to take, the options can vary, but this will likely include things like tags you would like to add, an email address, or an answer to the question you asked in your Sniply bar.
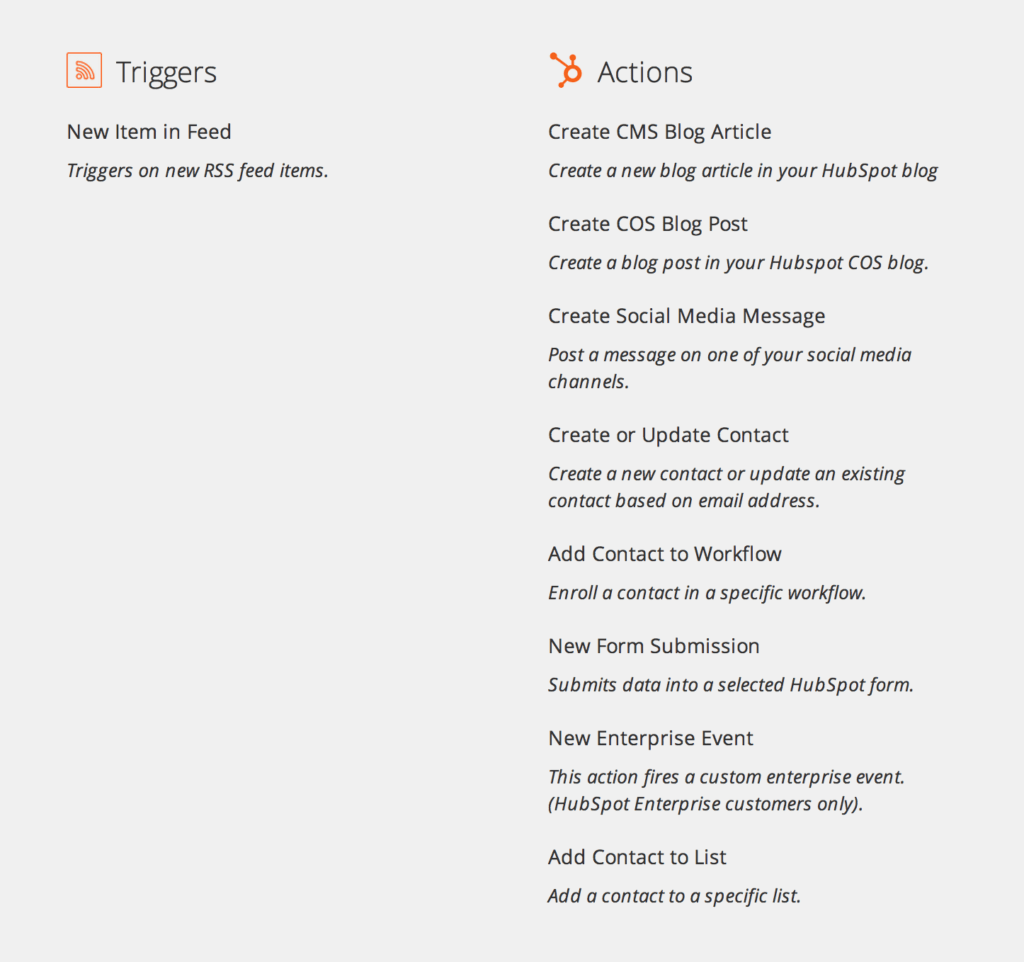
Using RSS Feeds
Sniply Feeds allow you to create Sniply links out of entire streams of content. Using Zapier, these content streams can be used to do a variety of things on HubSpot, as you can see from the list to the left. For example, if you would like to publish a new Social Media Message on HubSpot every time the Wall Street Journal has a new article in their technology section using a Sniply link, you could use Sniply Feeds and Zapier to accomplish this. To use Sniply Feeds, just find the RSS feeds for your favourite sites and then plug them into Sniply. Sniply will give you output feeds, which you can plug into Zapier. To do this, just use RSS as the Trigger app in a new Zap on Zapier. Then use HubSpot as the Action app to accomplish exactly what you need done. This is marketing automation at it’s finest!
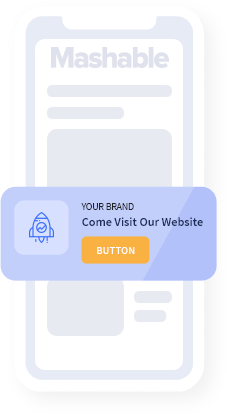


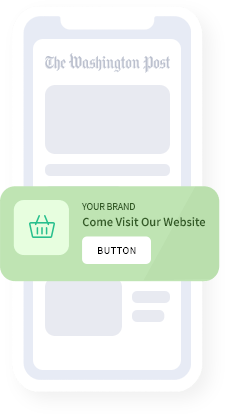
Add a call-to-action to every link you share.
Join 100,000+ marketers and drive conversions through content curation.
Get Started for Free